How to Clean Dog Ears (and When to See a Vet)
TL;DR
How to clean dog ears, in short: check first, clean second, and only clean a healthy ear. Lift the flap and look: if you see redness, swelling, a bad smell, dark or bloody discharge, or your dog flinches in pain, do NOT clean — see a vet. For a healthy ear, use a vet-approved ear cleaner (never peroxide, alcohol, vinegar, or essential oils), fill the canal, massage the base for 20 to 30 seconds, let your dog shake, then wipe only the outer ear and the crevices you can reach with a cotton ball — never deeper than one knuckle, never with a cotton swab. Clean only when needed: a weekly look, and a clean roughly every two weeks if the ears are clean.
Table of Contents
First: Is This Ear Safe to Clean at Home?
This question comes before any cleaner, because cleaning an infected ear at home can make it worse — and it hurts. Look at and smell each ear before you start. A healthy ear to clean has light wax, no strong smell, no redness or swelling, and a dog that does not flinch when you touch it. Stop and see a vet instead if you find any of these: redness or swelling, heat, a foul or yeasty smell, dark brown, yellow, or bloody discharge, crust around the edges, dirt that looks like coffee grounds, constant head shaking, pawing or rubbing at the ear, pain when touched, head tilt, loss of balance, or eye twitching. Those are signs of infection or something deeper, and they need diagnosis, not a home clean. When in doubt, the vet visit is the right call — ears are one area where guessing wrong has real consequences.
Before You Start: What You Need (and What Never to Use)
You need: a vet-approved ear cleaner made for dogs (your vet can recommend one — use that, not a home mixture), cotton balls or soft gauze pads, a towel (the post-clean shake sprays cleaner everywhere, especially on big dogs), and treats. What never to use: hydrogen peroxide, alcohol, vinegar, essential oils, or any homemade mixture — all of them irritate the ear canal and can damage it or worsen an infection. And never use cotton swabs (cotton buds): they push debris deeper and can damage the ear’s structure. If you do not have a vet-approved cleaner, do not improvise — a gentle wipe of the outer ear with a damp cotton ball is all you should do until you have the right product.
Step 1: Look and Smell Before You Pour Anything
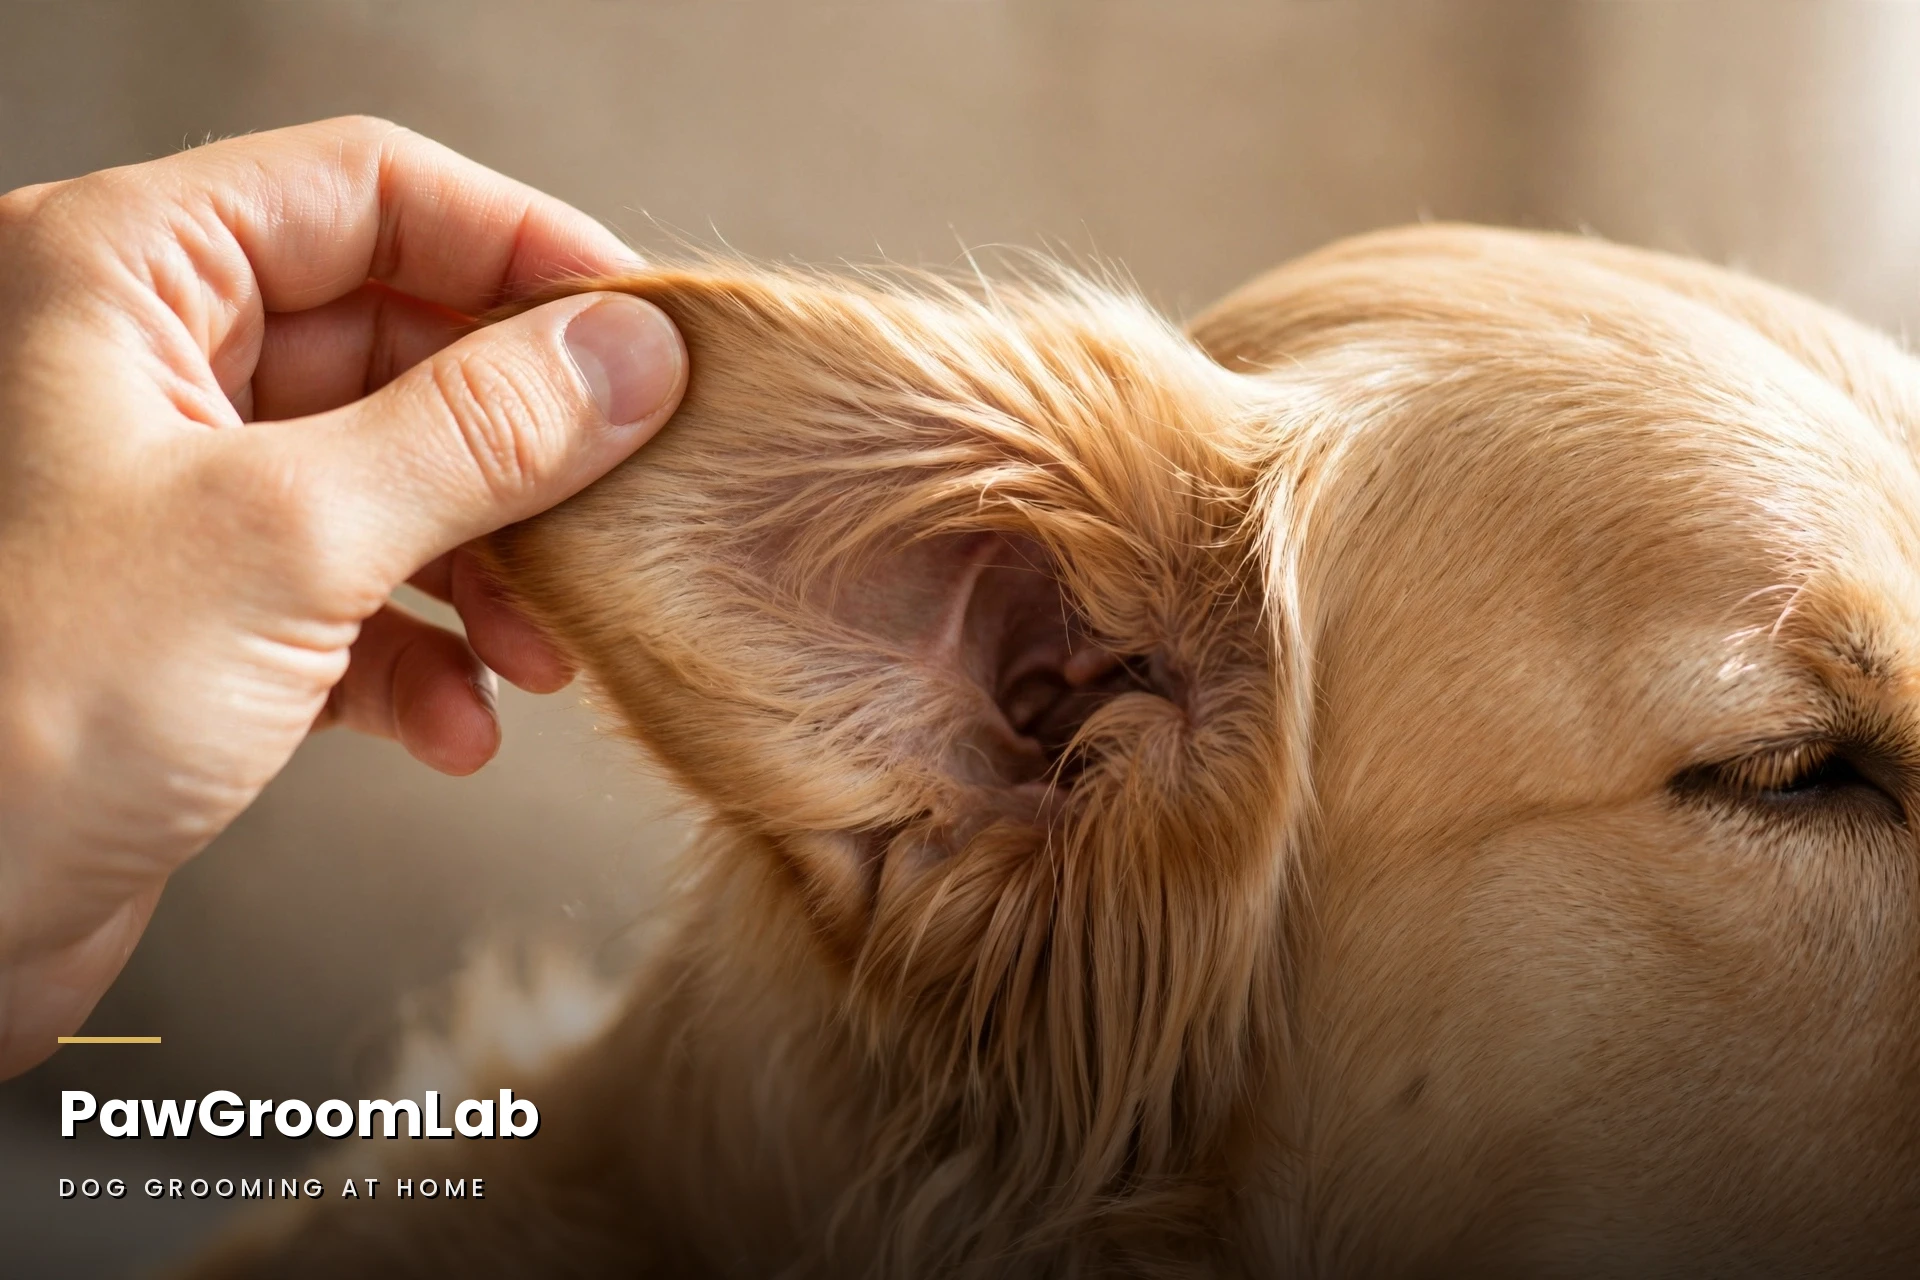
Settle the dog somewhere calm and well-lit. Lift the ear flap — for floppy ears, this opens the canal for inspection — and look inside with a light if you have one. Note the wax colour and amount, any redness, any smell, and whether the dog reacts to touch. Check both ears even if only one seems dirty; infections and wax often differ ear to ear. This two-minute check is the step that prevents most ear-cleaning mistakes, because it catches the ears that should not be cleaned at home at all.
Step 2: Fill, Massage, Let Them Shake
For a healthy ear: hold the flap up, and fill the ear canal with cleaner until you see the fluid near the top — do not push the bottle tip deep into the canal. Pinch the ear closed gently, and massage the base of the ear for 20 to 30 seconds. You should hear a squelching sound as the fluid loosens wax and debris. Then release and let your dog shake its head — shaking is part of the method, not a problem: it brings loosened debris up and out. Keep the towel handy for the spray. If your dog finds the fill uncomfortable at first, you can start with a cleaner-soaked cotton ball squeezed gently into the ear, then work up to the fill method over sessions.
Step 3: Wipe Only What You Can Reach
After the shake, wrap a cotton ball or gauze around your finger (your pinky reaches easiest) and wipe the outer ear and the crevices you can comfortably reach — no deeper than one knuckle. Wipe all the folds of the outer ear, where wax and debris collect. Do not chase debris deeper: anything beyond comfortable reach stays for the next session or for the vet. Finish with a treat and a face wipe, since cleaner spray usually lands on the dog’s face too. One ear at a time, fresh cotton for each ear, so you never carry anything from one ear to the other.
How Often Should You Clean?
Weekly ear checks belong in every grooming routine, for floppy and prick ears alike. Cleaning itself only needs doing when the ears need it: if the ears are clean, roughly every two weeks is plenty. Dogs that swim, have floppy ears, or build wax fast may need it more often; dogs with naturally clean, dry ears need it less. Over-cleaning strips healthy oils and irritates the canal, which can cause the very problems you are trying to prevent. If you find yourself needing to clean constantly to keep up with wax or smell, that is a vet conversation, not a sign to clean harder.
Floppy Ears Need Extra Attention
Floppy ears trap warmth and moisture, which is why they are more prone to wax buildup and infection than prick ears. The method is the same, but the checks matter more: lift the flap fully for every inspection, dry the ears after swimming or baths (moisture left in a floppy ear is an infection invitation), and keep the hair around the ear opening tidy enough that air can reach it. If a floppy-eared dog starts shaking its head or scratching more than usual, check the ears that day — do not wait for the next scheduled clean.
Mistakes That Hurt Ears
Cleaning an ear that shows infection signs instead of seeing a vet. Using peroxide, alcohol, vinegar, or oils. Pushing cotton swabs deep into the canal. Skipping the look-and-smell check and cleaning blind. Over-cleaning healthy ears until they are irritated. Chasing debris deeper than one knuckle. And using the same dirty cotton for both ears.
Troubleshooting
My dog shakes its head a lot after cleaning: some shaking right after is normal — it clears excess cleaner and loosened debris. Constant shaking for hours, or shaking that starts days later, is not normal — check the ear and see a vet if there is redness, smell, or discharge. The ear still looks dirty after cleaning: some wax needs two sessions, not one aggressive one. Clean again in a few days rather than digging deeper now. If the ear never looks clean, or the wax is dark and smelly, that is a vet check, not a third clean. My dog will not let me touch its ears: pain is the first suspect — check for infection signs and see a vet if any are present. Otherwise, build up slowly: treats for ear touches, then for lifting the flap, then for a wipe of the outer ear only, over several days. I see a little blood: stop cleaning immediately. Blood in or around the ear means a vet visit — do not clean further and do not try to treat it at home.
Vet Safety Box — Read This Before You Clean
Ear cleaning is grooming, not treatment, and ears are the one grooming area where home treatment of a real problem is dangerous. See a vet immediately — do not clean first — if you find redness or swelling, a foul or yeasty smell, dark brown, yellow, or bloody discharge, crust or coffee-ground dirt, pain or flinching on touch, constant head shaking or head tilt, loss of balance, eye twitching, fever, or a possible foreign object in the ear. Infections need veterinary diagnosis and prescribed treatment; no home cleaner, rinse, or remedy treats an ear infection, and cleaning an infected ear can push infection deeper and cause serious harm. If your dog’s ears repeatedly need cleaning to stay comfortable, ask your vet why — recurring ear trouble often has an underlying cause that grooming alone cannot fix.
Frequently Asked Questions
How often should I clean my dog’s ears?
Check weekly; clean roughly every two weeks if the ears are clean. Swimmers and floppy-eared dogs may need it more often, and over-cleaning irritates the canal, so clean on need, not on a rigid schedule.
Can I use hydrogen peroxide or alcohol?
No. Both irritate the ear canal and can cause damage or worsen infection. Use a vet-approved ear cleaner only.
Can I use cotton swabs?
No — they push debris deeper and can damage the ear. Use cotton balls or gauze, and never go deeper than one knuckle.
How do I know if my dog has an ear infection?
Redness, odour, pain, excessive debris, and sensitivity are the signs. If you notice them, do not clean — contact your vet immediately.
Why does my dog shake its head after cleaning?
That is normal right after cleaning — it clears excess cleaner and loosened debris. Constant shaking afterwards is not normal and deserves a vet check.
Should I clean both ears even if only one looks dirty?
Check both, clean only the ones that need it, and use fresh cotton for each ear.
What to Do Next
Ear checks fit naturally into bath-and-brush day: clean coat, short nails, brushed fur, checked ears — one calm session covering the whole dog.
How to Bathe a Dog Without Stress; How to Trim Dog Nails Safely; How to Brush Out Shedding; How to Remove Matted Fur Without Hurting Your Dog
Complete Dog Grooming at Home Guide; How to Brush Your Dog’s Teeth at Home; Dog Grooming Tools Beginners Actually Need; Complete At-Home Dog Grooming Schedule.
One Comment