How to Remove Matted Fur Without Hurting Your Dog
TL;DR — How to remove matted fur, in short: work on a dry coat, start at the tips of the mat and work toward the skin — never the other way round — and hold the base of the fur against the skin with your other hand so pulling never reaches the roots. Use your fingers first, then a wide comb, with detangling spray or a little cornstarch. Never cut a mat out with sharp scissors near the skin, and never bathe a matted dog — water tightens mats into felt. If a mat is pressed flat against the skin, covers a large area, or the dog yelps when you touch it, stop and book a groomer or vet instead.
Table of Contents
Why Mats Hurt (More Than They Look)
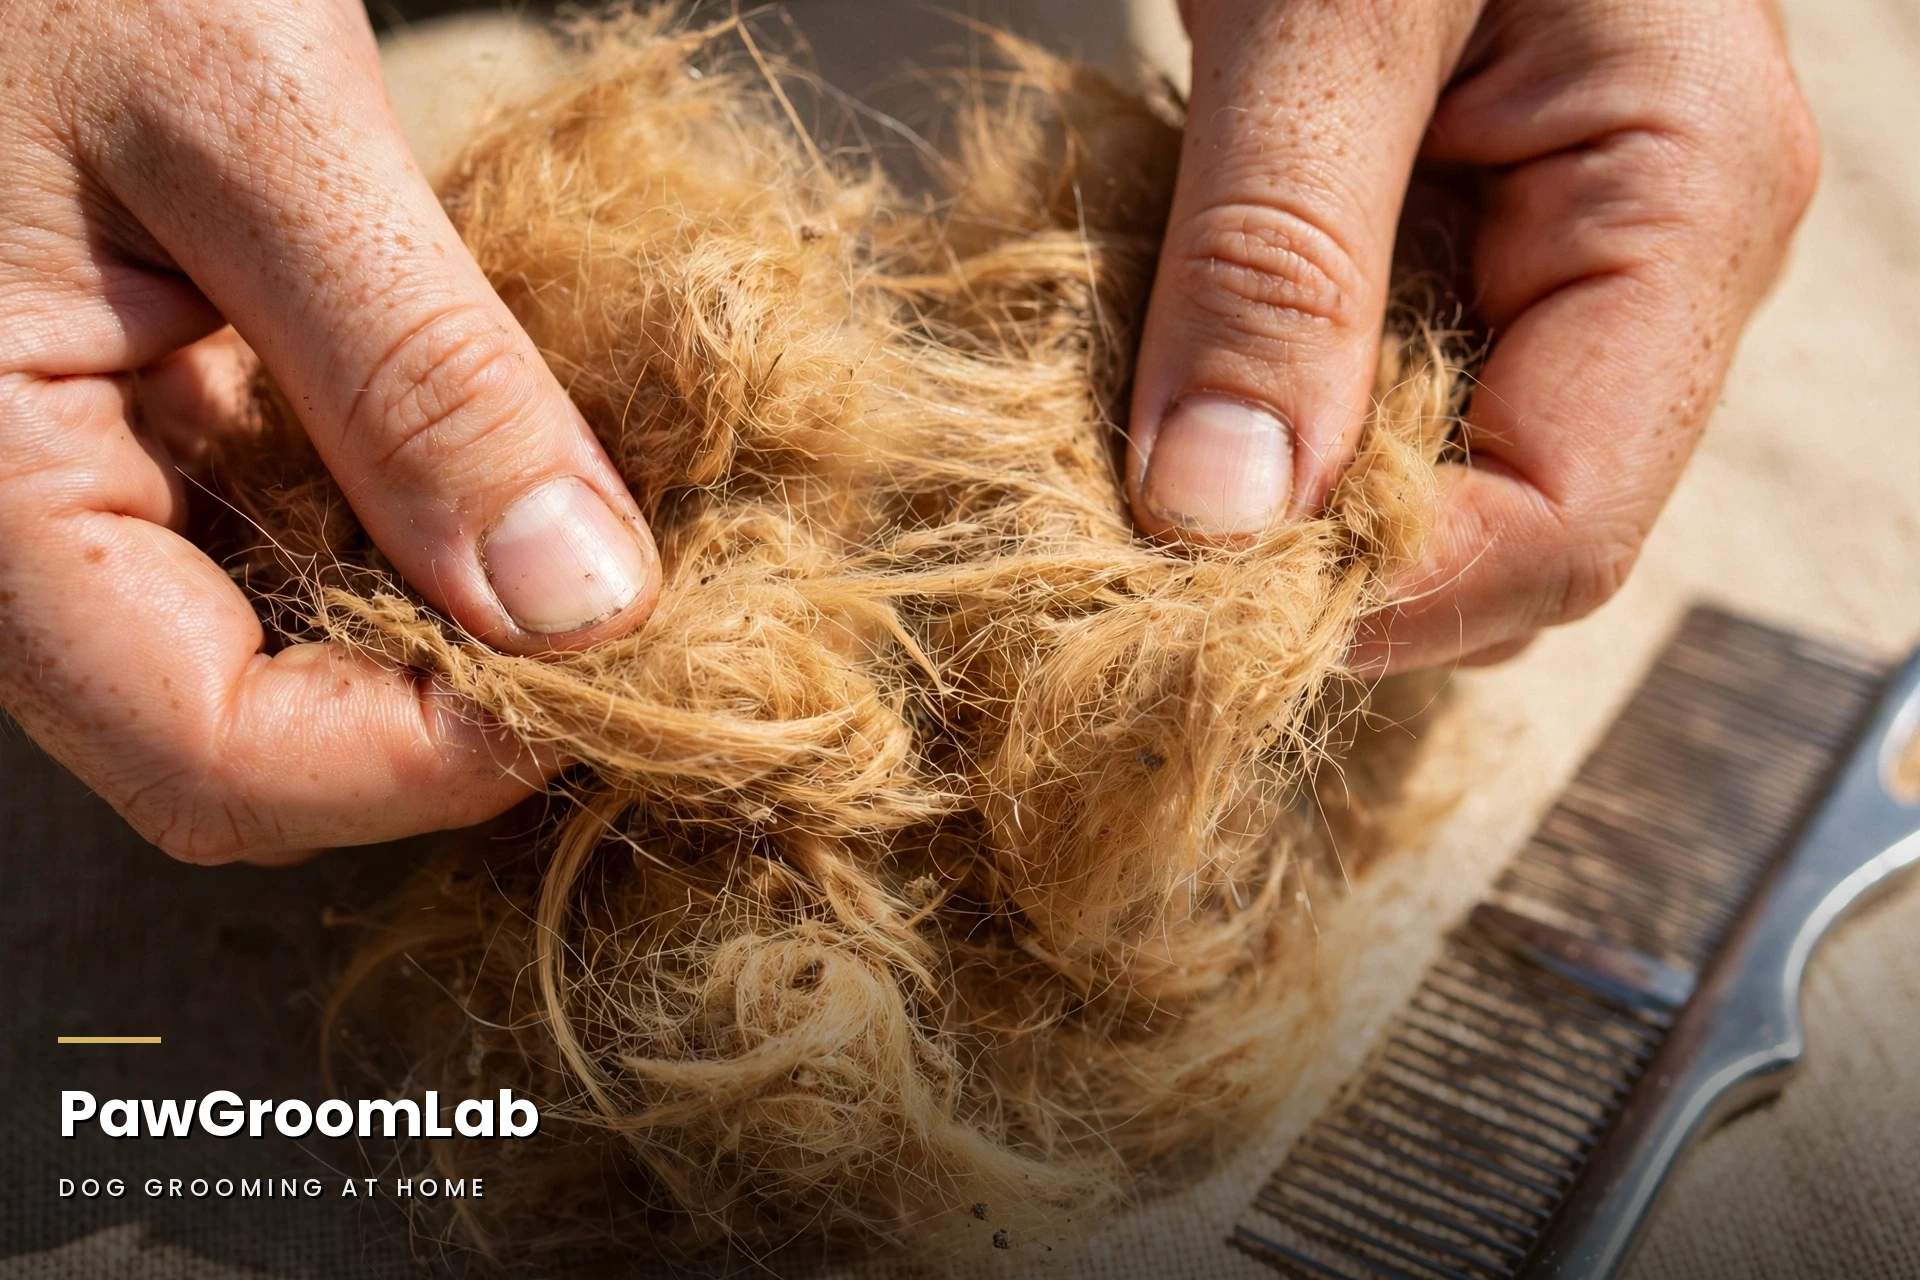
A mat is a tight knot of loose hair, dead undercoat, dirt, and natural oils. It usually starts as a small tangle that is easy to miss, and every time the dog moves, the knot pulls a little tighter. That constant pulling is painful — like a tight rubber band left on for weeks. Worse, mats trap moisture, dirt, and skin cells against the skin, blocking air and creating warm, damp conditions where yeast and bacteria thrive. Under a serious mat you often find raw, inflamed skin, hotspots, and sometimes open sores you could not see from outside. Removing mats correctly is a welfare job, not a cosmetic one — and removing them wrongly can hurt more than leaving them a day longer while you get help.
Where Mats Form First
Mats form wherever there is friction and movement: behind the ears, under the collar line, in the armpits, under the chest, between the legs, around the tail, and in the feathering on the legs. Long, curly, and double-coated dogs mat the most, but short-coated dogs get small mats too, usually behind the ears or under a collar. Running your fingers through these spots during every grooming session catches mats early, when they are still easy — a mat found at pea-size is a five-minute job; the same mat ignored for a month can become a shave-out.
Before You Start: Tools and the Two Rules
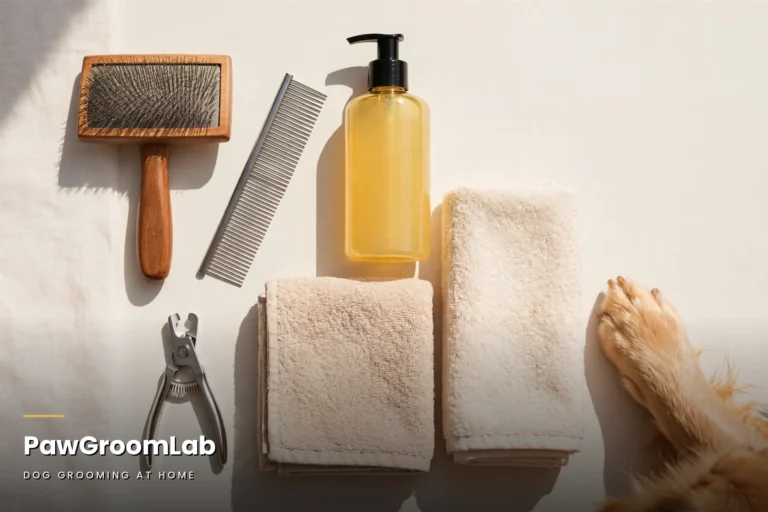
Gather: a dog detangling spray (or plain cornstarch as a substitute), a wide-toothed metal comb, a slicker brush, treats, and a non-slip surface. A helper is worth a lot here — one person to hold and treat, one to work the mat. Two rules govern everything that follows. Rule one: work on a dry coat. Never bathe a matted dog first — water shrinks the fibres and turns a loose mat into dense felt that is far harder to remove. Rule two: never use sharp, pointed scissors near a mat. Mats sit close to the skin, and you cannot see where skin ends and fur begins inside a knot — one slip cuts the skin and can mean a wound that needs stitching. If cutting is ever needed, it is a groomer or vet job with clippers, not a home scissors job.
Step 1: Assess the Mat Honestly
Before you touch a tool, feel the mat. Is it loose and small, with some give when you pinch it? That is a home job. Is it pressed flat against the skin, hard, covering a large area, or does the dog flinch, yelp, or snap when you touch it? Stop — that mat needs a professional. Also check what is under and around it: part the fur at the edges and look for redness, smell, dampness, or sores. If the skin underneath looks angry, do not work through it at home; the skin needs treatment first, and a groomer or vet should handle the mat.
Step 2: Soften, Then Fingers First
Spray the mat thoroughly with detangling spray (or work in a little cornstarch) and let it sit for a few minutes so the fibres loosen. Then use your fingers, not a tool: hold the base of the mat firmly against the skin with one hand — this is the critical move, because it means any pulling is absorbed by your hand, not by the roots — and with the other hand, gently tease the mat apart into smaller sections, starting from the outer tips and working inward. Small sections are the whole secret: one big mat is impossible, but five small ones are manageable. Treat often. If the dog gets stressed, pause — a mat removed over two calm sessions beats one forced session that teaches the dog to fear grooming.
Step 3: Comb From Tips to Skin
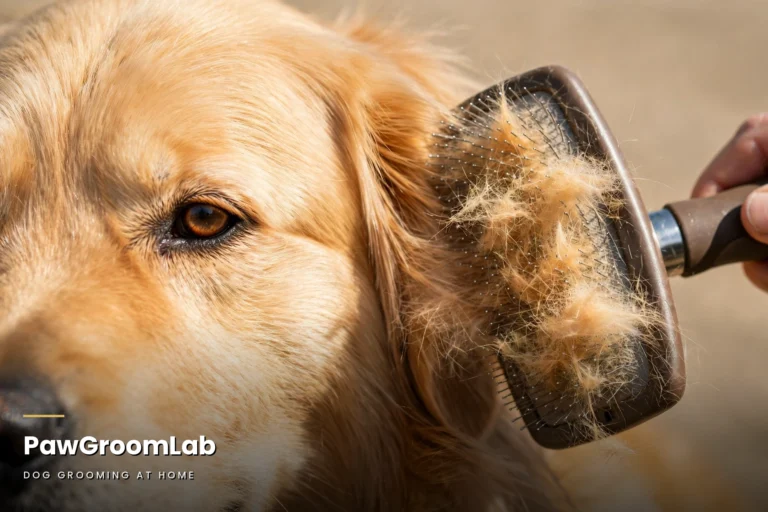
Once the mat is split into sections, take the wide-toothed comb and work each section from the tips toward the skin, in short, gentle strokes — never yank from the roots outward. When a section combs through without snagging, move to the next. Finish with the slicker brush to smooth the area, then run the comb through once more as a check: if it glides to the skin without resistance, the mat is truly gone; if it snags, there is still knot left, so go back to fingers and spray rather than forcing the comb. For a dense mat that will not split by hand, a dematting rake or splitter can slice it vertically into thinner strands — slide it under the mat and tease outward in short flicks, always holding the base — but if you are unsure, skip the blade tool and let a groomer do that step.
Step 4: Check the Skin and Prevent the Next One
When the mat is out, look at the skin underneath: a little pinkness from handling fades quickly, but persistent redness, sores, dampness, or a bad smell means a vet visit, not more grooming. Prevention is far easier than removal: brush the mat-prone spots every session, keep the coat fully dry after baths and swimming (damp fur mats fast), and keep the hair around the ears, armpits, and collar line trimmed short enough to manage if your dog mats there constantly. Dogs that mat again and again despite regular brushing may have an underlying skin or coat issue — recurring mats are worth mentioning to your vet, because they can be a visible symptom of something internal.
Mistakes That Make Mats Worse
- Bathing a matted dog before dematting — water felts the mat tighter.
- Cutting with scissors near the skin.
- Pulling from the roots outward instead of tips inward.
- Yanking a comb through a snag instead of re-splitting the knot.
- Skipping the base hold, so every tug pulls the roots.
- Trying to finish a severe mat in one session on a distressed dog.
- And ignoring mats until they are flat against the skin, when a home job has become a professional one.
Troubleshooting
The mat will not budge at all: it may be felted tight. Soften it again, split it smaller, and try once more — but if it still will not move, or it is flat against the skin, stop and book a groomer. Forcing a felted mat causes brush burn and pain.
My dog will not let me near the mat: pain is the usual reason. Check for soreness underneath, shorten the session to a minute or two, use high-value treats, and try again tomorrow. A dog that guards one spot may be guarding a sore — believe it.
I found redness or a sore under the mat: stop dematting that area, keep it clean and dry, and see a vet — the skin needs treatment, and the mat around it is a professional’s job now.
The same spot mats again every week: increase brushing frequency for that area, keep it dry, and consider a shorter trim there. If mats recur everywhere despite good brushing, mention it to your vet.
Vet Safety Box
Dematting is grooming, not treatment. See a vet or groomer before attempting a mat if it is tight against the skin, covers a large area, or the dog shows pain when it is touched; if the skin underneath is red, swollen, smelly, damp, or sore; or if mats keep recurring despite regular brushing. Severely matted coats often need professional clipping — do not attempt to shave a matted dog at home. A mat that hides a wound, a hotspot, or an infection needs diagnosis before grooming, not after.
Frequently Asked Questions
Can I cut a mat out with scissors?
No — never with sharp, pointed scissors near a mat, because you cannot see where the skin is inside the knot and a slip can cause a wound needing stitches. Splitting by hand and comb is the safe home method; cutting, if needed, is a groomer or vet job with clippers.
Should I bathe my dog before removing mats?
No. Water tightens mats into felt and makes them much harder to remove. Demat first, bathe after, and dry fully.
Does cornstarch really help?
Yes — a little cornstarch or a dog detangling spray lubricates the fibres and makes finger-splitting much easier. It is not magic, but it noticeably reduces pulling.
How do I stop mats coming back?
Brush the friction spots (ears, armpits, collar line, tail, legs) every session, dry the coat completely after baths and swimming, and keep mat-prone areas trimmed manageable.
When should I give up and see a groomer?
When a mat is flat against the skin, hard, large, or painful to touch — or when the skin underneath looks red, sore, or smells. A professional shave-out is safer than forcing it.
What to Do Next
Once the coat is mat-free, keep it that way with the regular routine: a bath to clean the coat, a full dry, then a brush-out. Start with our bath guide: How to Bathe a Dog Without Stress — our nails guide: How to Trim Dog Nails Safely — and our brushing guide: How to Brush Out Shedding.
Guides that pair naturally with this one (plain text names only, no links yet): Complete Dog Grooming at Home Guide; Puppy’s First Groom; Dog Grooming Tools Beginners Actually Need; Complete At-Home Dog Grooming Schedule.


3 Comments