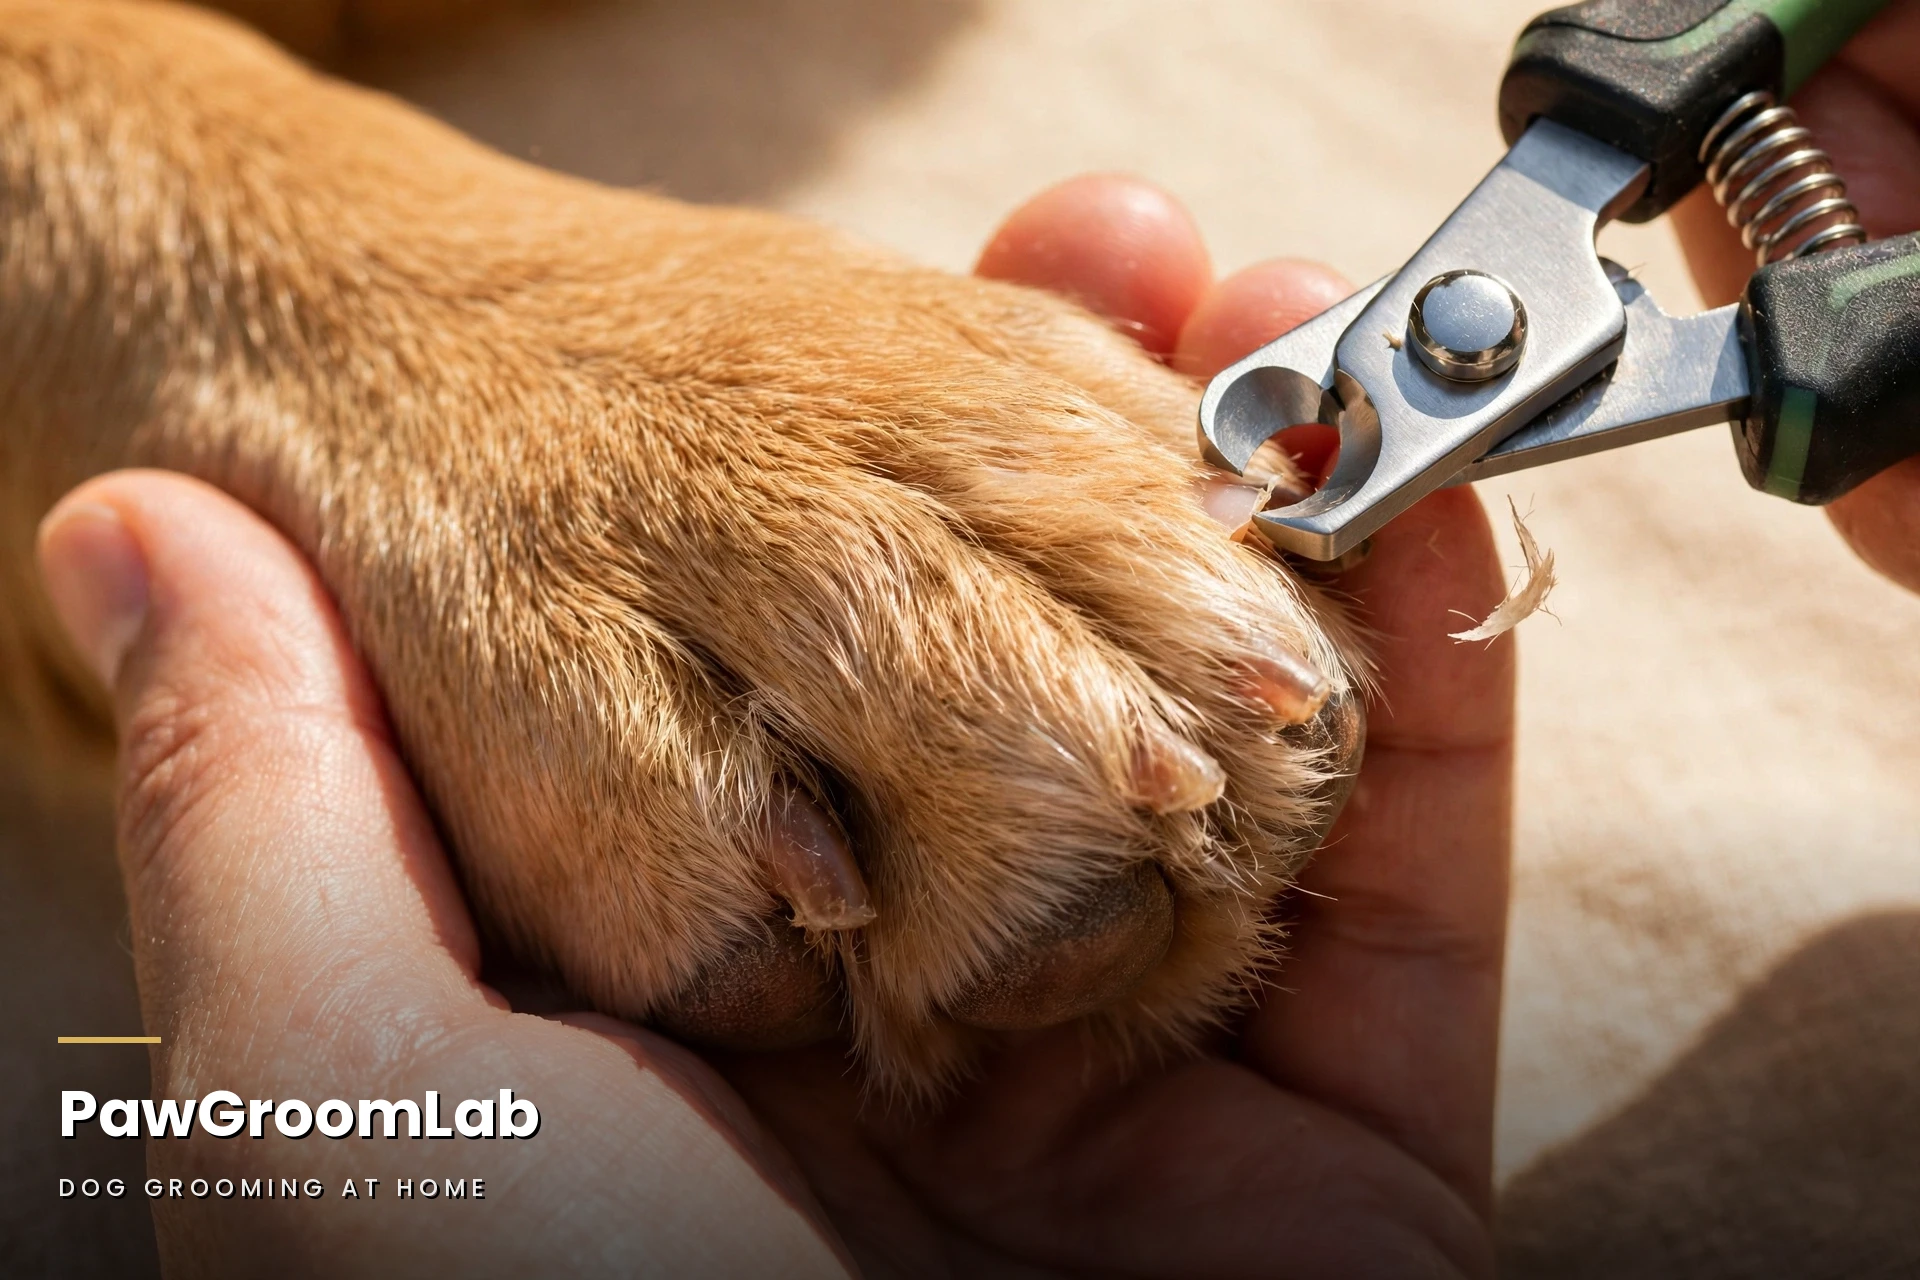
How to Trim Dog Nails Safely (Without Cutting the Quick)
TL;DR — How to trim dog nails safely, in short: trim every 3 to 4 weeks (or when you hear clicking on hard floors), use sharp dog clippers, and cut small slivers at a 45-degree angle instead of one big chop. On light nails, stop before the pink quick. On dark nails, take tiny slices and stop the moment you see a small dark dot or moist center on the cut surface. Keep styptic powder within reach every single time — even careful groomers nick a quick now and then, and it is fixable in a minute if you are prepared.
Table of Contents
Why Nail Trims Matter More Than People Think
Overgrown nails change how a dog stands and walks. The toes splay, the joints take pressure at the wrong angles, and a nail that grows long enough can curl into the pad or snag and tear on a walk. Dewclaws are the worst offenders — they never touch the ground, so they never wear down, and owners forget them entirely until one is overgrown and hooked. Regular trims also make every vet visit and grooming session easier, because a dog that is used to paw handling is a dog that does not panic when someone touches its feet. This is a small job with an outsized effect on comfort.
Before You Start: The Tools Checklist
Gather everything before you pick up a paw. You need:
- sharp dog nail clippers (scissor-style or guillotine-style, whichever you handle confidently — dull blades crush instead of cutting, so replace them when they stop cutting cleanly)
- a nail grinder if you prefer one, or as a finishing tool
- styptic powder (non-negotiable — it must be on the table before the first cut, not in a cupboard somewhere)
- a small towel
- high-value treats, cut small
- good light — daylight or a bright lamp, because you need to see the nail clearly
- and a helper if your dog is fidgety, one person to hold and treat, one to trim
Finding the Quick: Light Nails vs Dark Nails
The quick is the living core of the nail — blood vessels and a nerve. Cutting into it hurts and bleeds, which is why the whole job revolves around not reaching it. On light or clear nails, you can see it: a pinkish area inside the nail, like a shadow. Trim well short of where the pink begins. On dark nails, you cannot see through, so you work by the cut surface instead: take a thin slice off the tip, look at the face of the cut, and repeat. A dry, pale, chalky-looking center means you are still in safe nail. The moment the center turns darker, greyish, or slightly moist, with a small dark dot appearing — stop. You are at the quick’s edge. A grinder gives even more gradual control on dark nails than clippers, which is why many groomers prefer it for black-nailed dogs.
Step 1: Get the Paw Handling Right First
If your dog pulls its paw away the second you touch it, do not start with clippers. Spend a few days just holding paws, pressing each toe gently, and treating. The session itself should be calm and low: dog settled, ideally after a walk or play when it is a little tired, on a non-slip surface. For a small dog, hold it in your lap. For a bigger dog, sit beside it with the paw in your hand, never dangling the leg or bending a joint at a harsh angle. Senior dogs especially need the leg fully supported — arthritic joints do not forgive being yanked around.
Step 2: Trim One Nail at a Time, in Slivers
Hold the paw firmly but gently, isolate one nail, and cut at roughly a 45-degree angle to the nail, following its natural curve — not straight across. Take a small sliver off the tip first. Look at the cut face. Take another thin slice if there is room. On a long, overgrown nail, do not try to reach the right length in one session: trim a little, then trim a little more a few days later. The quick recedes gradually when nails are trimmed regularly, so an overgrown nail needs two or three short sessions, not one aggressive one. Reward after each nail, or after each paw if your dog is relaxed — a steady drip of treats keeps the association positive.
Step 3: Do Not Forget the Dewclaws
Check all four paws for dewclaws, including the hind ones if your dog has them. They grow in a curve and hook fast, and because they do not wear down, they are the nails most likely to overgrow into the pad. Trim them with the same sliver method, and check them every session even if the other nails look fine.
Step 4: Smooth the Edges (Optional but Worth It)
A quick pass with a nail file or grinder after clipping takes off sharp edges and catches any nail you left slightly long. If you use a grinder, work in short bursts of a few seconds and keep it moving — holding it on one spot heats the nail, which hurts. Let the dog hear and sniff the grinder before it touches a nail, and treat for calm reactions. If your dog hates the vibration, clippers plus a hand file do the same job.
If You Cut the Quick: Stay Calm and Fix It
It happens, even to experienced groomers, and it is not a disaster. Do not panic — your dog takes its cue from you. Press styptic powder firmly onto the bleeding tip and hold gentle pressure for 30 to 60 seconds. Most quick bleeds stop within a few minutes. Keep the dog calm and off that paw for a bit, and do not try to finish the other nails in the same session if the dog is upset. You can use plain cornstarch if you have no styptic powder, though styptic works faster. See a vet if the bleeding does not stop after several minutes of pressure, if the nail is cracked or broken, or if the paw swells or the dog will not put weight on it afterwards.
If Your Dog Hates Nail Trims
A dog that panics at the sight of clippers needs smaller steps, not more force. Build up over days: treats for paw touches, treats for the clippers just sitting nearby, treats for one nail, then two. One paw per session is a perfectly valid plan — finishing all four paws over two days beats one wrestling match every time. A helper feeding treats steadily while you trim changes the whole dynamic. And if your dog is truly terrified despite slow work, or if the nails are severely overgrown and curled, ask your vet or a groomer for help first. There is no prize for doing it all yourself, and a bad experience makes the next ten sessions harder.
Mistakes That Make the Next Trim Harder
- Cutting too much at once instead of in slivers.
- Using dull clippers that crush the nail.
- Skipping the dewclaws.
- Trimming in poor light where you cannot see the quick or the cut face.
- Trying to fix a badly overgrown nail in a single session instead of over two or three.
- Forcing a frightened dog through all four paws instead of stopping at one calm paw.
- And the most common one: putting off trims until the nails are long, which makes every trim harder and riskier than it needed to be.
Troubleshooting
My dog pulls its paw away constantly: shorten the session, not the patience. One nail, treat, pause. Check your hold — a firm, steady grip on the paw is calmer than a loose one that lets the paw jerk around. If the dog is truly distressed, stop and try again tomorrow; a nail trim spread over days still counts.
The nail split or cracked while trimming: stop trimming that nail. A split nail can be painful and can catch on things. If the split is small and the dog is comfortable, keep it clean and watch it; if it bleeds, is painful, or the dog limps, see a vet.
I cannot tell where the quick is on black nails: use the sliver method and the cut-face rule — dry pale center is safe, dark dot or moist center means stop. A grinder gives finer control, and a bright light plus a helper holding the paw steady helps you actually see the cut face.
My dog’s nails click on the floor days after trimming: the nails may still be a touch long, or the quick is long from months of overgrowth. Trim a little more in a few days rather than all at once now, and keep the 3 to 4 week rhythm — the quick recedes with regular trims.
Vet Safety Box
Nail trimming is grooming, not treatment. See a vet before trimming if a nail is broken, cracked, bleeding on its own, or swollen at the base; if the paw is red, swollen, or painful to touch; if nails are so overgrown they have curled into the pad; or if your dog suddenly will not bear weight on a paw. The same applies after a trim: bleeding that will not stop with pressure, ongoing limping, or swelling after a session all mean a vet visit, not another attempt at home. Dogs with brittle, splitting nails or nails that change colour should also be checked, since nail changes can occasionally reflect something beyond grooming.
Frequently Asked Questions
How often should I trim my dog’s nails?
Every 3 to 4 weeks for most dogs, or whenever you hear clicking on hard floors. Active dogs that walk a lot on pavement may wear their nails down and need trims less often, while indoor dogs usually need the full rhythm. Puppies benefit from tiny trims every week or two, more for the habit than the length.
Can I use human nail clippers on my dog?
No — dog nails are thicker and shaped differently, and human clippers crush and split them. Use clippers made for dogs, in a size that fits your dog.
How do I trim black nails without cutting the quick?
Take thin slices, 1 to 2 millimetres at a time, and check the cut face after every slice. Stop when you see a small dark dot or a slightly moist, greyish center. A grinder is the safest tool for black nails if your dog tolerates it.
What should I do if a nail keeps bleeding?
Apply styptic powder with firm, gentle pressure for 30 to 60 seconds and keep the dog calm. Most bleeds stop within a few minutes. If it does not stop, or the nail is broken, see a vet.
Should I trim my dog’s dewclaws too?
Yes, every session. Dewclaws do not touch the ground, so they never wear down and are the first nails to overgrow and hook.
Do I need a grinder, or are clippers enough?
Clippers are enough for most dogs. A grinder is useful for smoothing edges and for dark nails where gradual control matters, but it is not required — clippers plus a hand file do the same job.
What to Do Next
Nail day pairs naturally with bath day: a clean, dry coat and short nails in one session, and the dog only has to be handled once. Start with our bath guide: How to Bathe a Dog Without Stress — then build the rest of the routine around it.
Guides that pair naturally with this one (plain text names only, no links yet):
8 Comments